Install Spotify Connect on Raspberry Pi without Volumio or any other complex audio system – tutorial.
Spotify has built up a huge audience of listeners during the last decade and even that audiophiles rejects it as an option to their listening session due the low bitrate and compression still there is a lot of people out there keeping their loyalty to this platform, some of them patiently waiting for the hi-res subscription option which should come hopefully soon.
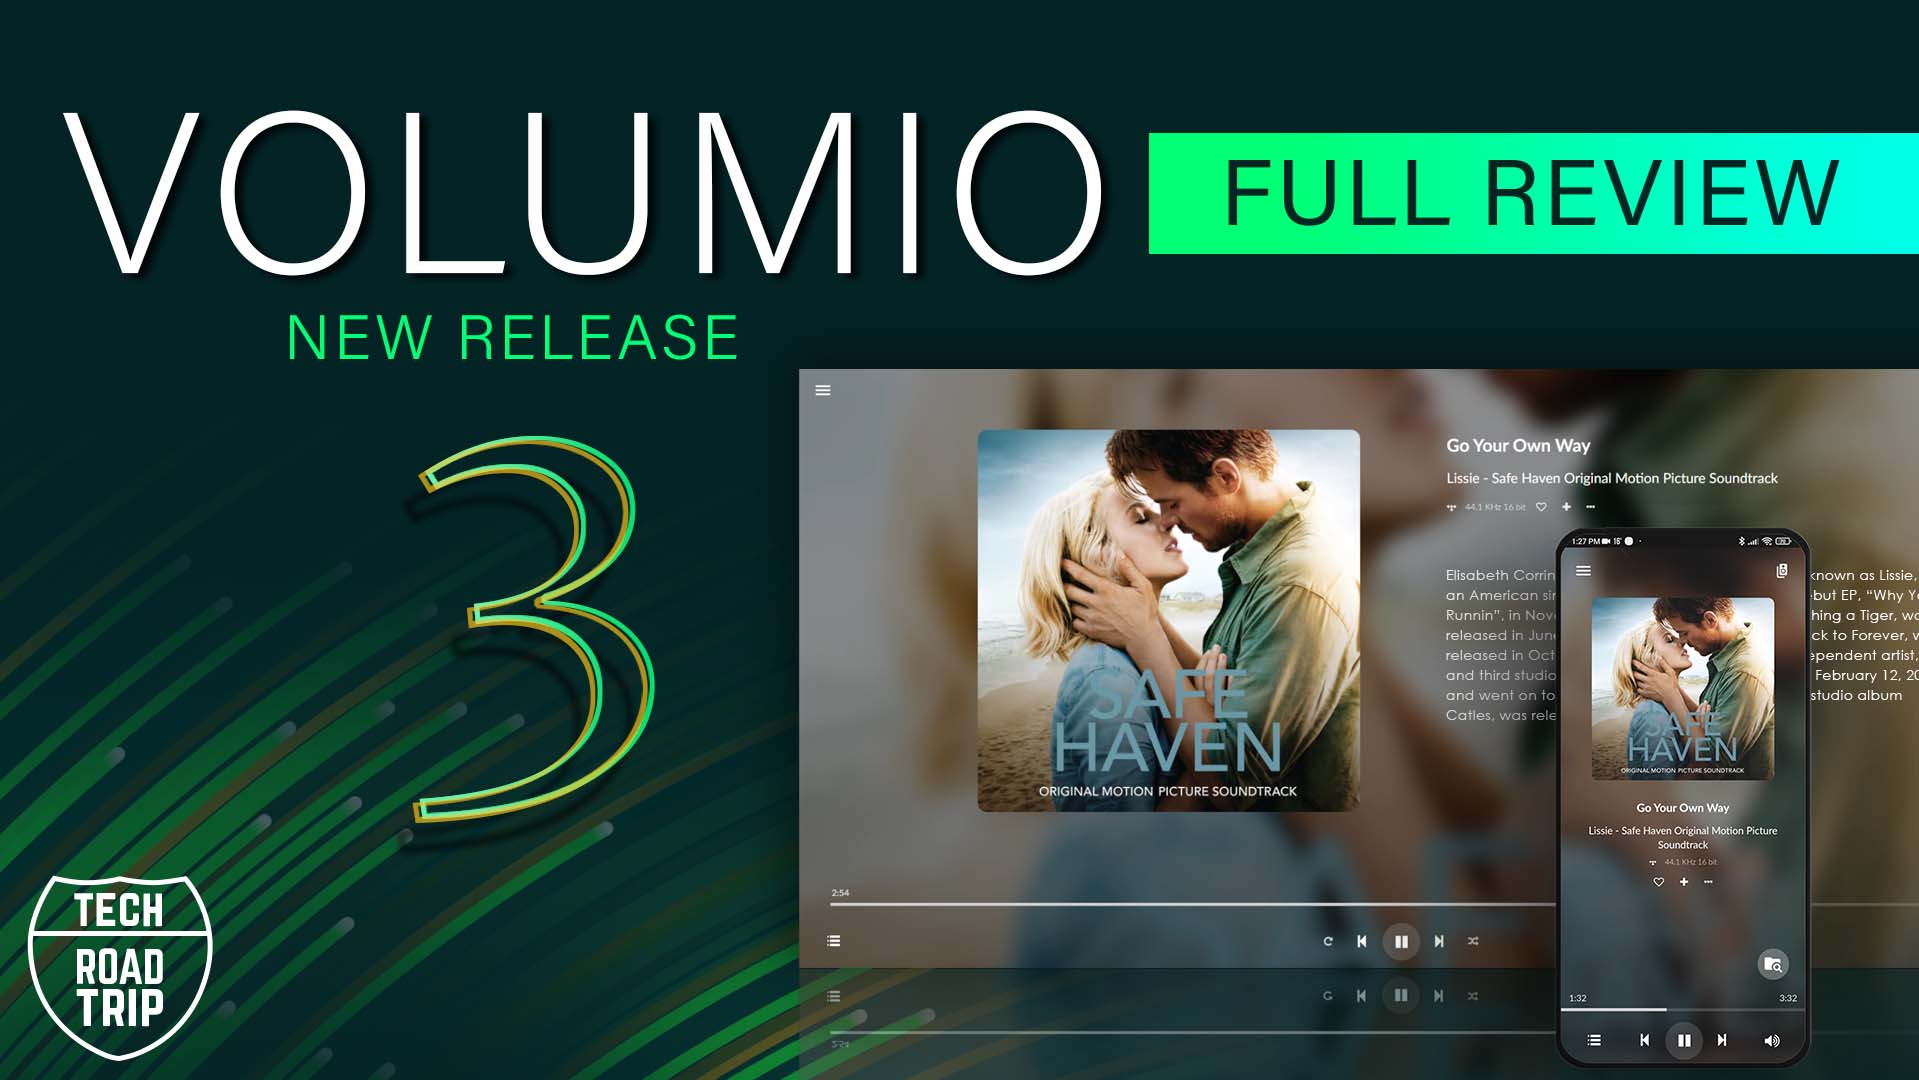
This tutorial was requested from some of you for quite a while as I always demonstrate all my reviews with Tidal as my go to online music streaming platform I use every day. But today we will have a look how to make your raspberry pi a music streamer, specifically a Spotify Connect device without a need of Volumio or any other audio software operating system.
Ok, so let’s go into it. As you will see the actual installation is very simple and a question of couple of minutes.
We can choose step by step installation or we can just simply use a simple installation script which will do everything for us.
I always recommend when you use some automated installation scripts to first check the author and community feedback behind it and also give it at least a quick look to see what will be done automatically on your system.
So when we look at this installation script (author dtcooper, source github) , we can see that this script is aimed directly for raspberry pi and Debian based distros respectively, so it will also work for example on Ubuntu server or DiePi as well.
If you don’t use any audio hat attached on your raspberry pi choose your base os as you prefer but if you do so I recommend Raspbian, DietPi, and ubuntu server in this specific order when it comes to easy driver installation, compactivity a issues which might come with it.
In this particular post I will not go through the installation of the base OS as I have done many videos on that, you can follow video version of this tutorial which shows the installation from a scratch and base OS install too.
I have chosen Rasbian lite for the purpose of this video and installed it on Rasberry Pi 4 (2GB), with connected USB DAC directly to its usb2.0 port.
So after we flashed our base OS image and written empty ssh file on in our Rasbian it’s time to connect via SSH remotely via our pc.
For the ssh connection we have multiple options when it comes to ssh clients, I will be using MobaXterm, my favorite terminal client.

Installation script: source dtcooper/github
So now we just need to put in pi’s ip address and if it’s a fresh install keep the port 22 as default. I recommend to change that and other for security reasons later on, again you can watch my raspberry pi basics video specifically security section chapter to see how to improve security of your raspberry pi.
Ok, so if you are on a fresh install of Raspbian as I am now, the default login is “pi” and password is “raspberry”
As a first command I recommend use simply serves to check for system updates, as there might be some updates from the time the system image we downloaded was released.
To do so we need to type :
this will check all the system repositories and checks for the list of packages and the updates, respectively
and if you see some packages are available then type:
to install them and wait for the update to finish.[/custom_font]
Ok so now we can run the installation script so we can shortly stream our Spotify music via our raspberry pi , type:
and let it finish the entire installation.[/custom_font]
If you don’t want to use the script for some reasons you can go step by step as so:
Install curl and https apt transport
curl should be already installed by default on fresh Raspbian though
Add the raspotify key to the keyring
sudo chmod 644 /usr/share/keyrings/raspotify_key.asc[/custom_font]
Create the apt repo
Install package
sudo apt-get -y install raspotify[/custom_font]
Configuration
Ok now we can have a look at the configuration file to see what we can configure and change to our needs, type:
If we need to add or change things in this config file we just need to uncomment the line the parameters are with a removal of the hash tag symbol and change then the parameters to our needs.
So, we can change the name, which means how our raspberry pi will be recognized on our network via the Spotify app.
And then we can set the bitrate, which I indeed recommend to change to highest ( 320kbps). Hopefully Spotify will be coming with hi-res subscription option soon, so we can go beyond that.
We have then other multiple possibilities to change here, as setting a default device output here, but I will show you how to do it in different way, for the whole system, somewhere else. So don’t worry about it here.
Then we have even further options here for the cache and other setting as volume normalization, the comments in this config files explain it all so change to your needs. I will keep the rest as is.
Ok, so let’s save the config with CTRL+X, Y for yes and Enter
Now I recommend to restart the system:
Give it some time to load and connect again via ssh.
Now let’s set up our default audio device output for the entire system not just for Spotify.
first let’s check our devices with a command:
This command will list all recognized audio outputs, if you have connected a usb dac to usb port of your raspberry pi it should appear here too besides other raspberry pi onboard outputs. If you have additional audio hat on the top of your pi as I do on another system I would need to change couple of things in my boot config of raspberry pi so it’s properly recognized and drivers are loaded and work correctly. To do so I highly recommend you to follow your board manufactures guidelines first or watch my previous video tutorial dedicated to UPnP where I show you how to set up my HifiBerry Digi+ hat.
If you use a usb dac directly connected as I do for the purpose of this tutorial, you don’t need to change anything in your boot config.
Back in the command line let’s set our audio output as default device:
There are couple of ways how to do that.
– you can create or edit `/etc/asound.conf`
– or what i will do is edit the main alsa config and set the default card there:
so here we need to scroll and find these two lines:
defaults.ctl.card 0
defaults.pcm.card 0
and change the number to our device (number)
Be careful these config files are space sensitive so don’t add or remove any spaces.
Save the file.
Congratulations, now you are all set and ready to stream your music via Spotify.
Now your Raspberry Pi just became a Spotify connect compatible streaming device.
What is the beauty of custom installation as this is, that when you look at the resources we are using now, even when streaming it’s just 50 -60MB of RAM and 2-3% of CPU load.
If you like this tutorial please like and subscribe to my YouTube channel so you don’t miss any future videos/tutorials which are coming soon.
piCorePlayer with Logitech Media Server - step by step installation and REVIEW
Moode Audio Player - Step by Step Installation and REVIEW
Rega Elicit-R (all about Elicit-R here)
Marantz SA8005 SACD player
AudioLab M-DAC+ (all about M-DAC+ here)
(Atlas Hyper Integra interconnects, Merlin Tarantula MK6 power cables, QED Genesis Silver Spiral)
Speakers:
KEF R500