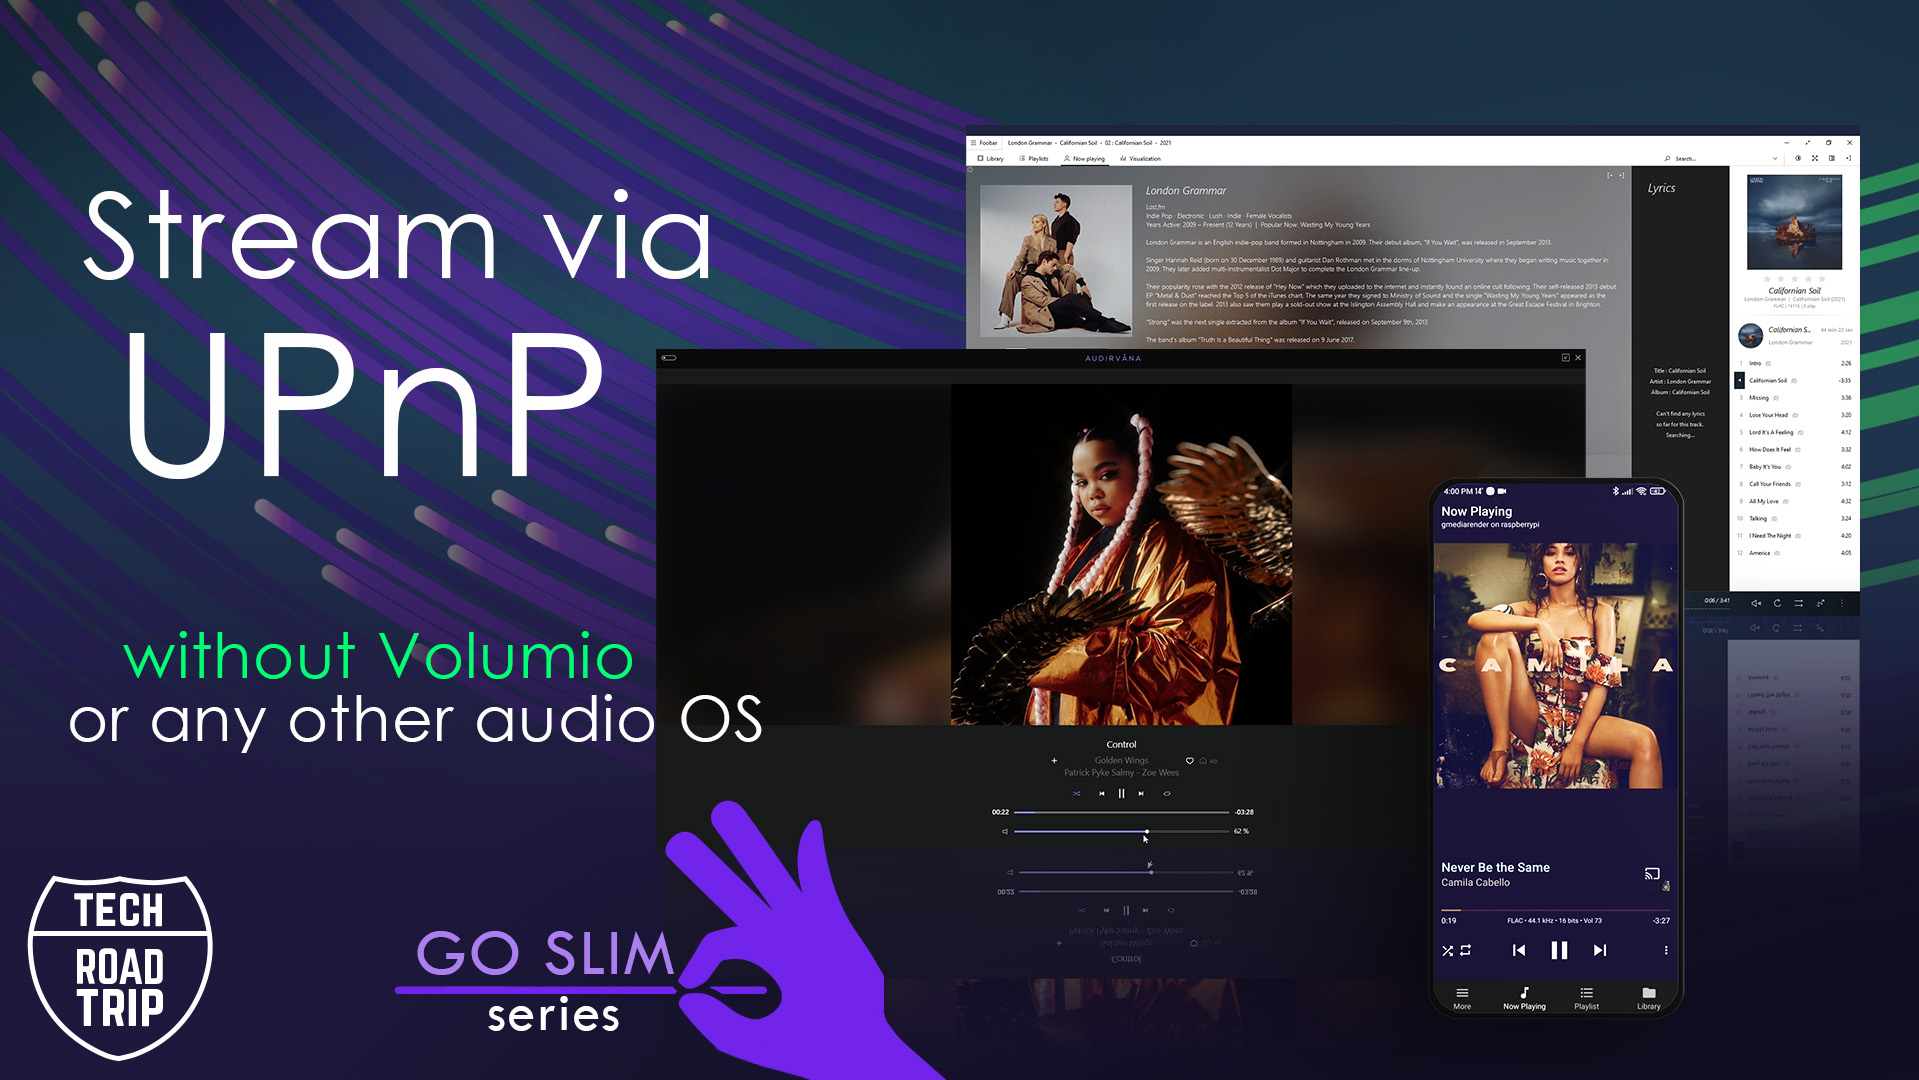
Today’s mission is simple. Let’s stream music via UPnP without Volumio, Moode audio or any other music streaming focused audio operating system.
Why this way can be useful and the right for you?
1. Well, maybe your actual everyday needs when it comes to audio streaming don’t require all the extra features as other full audio software solutions developed to cover all possible needs offer so the extra bloat is not necessary and you want to have a full control over what is running on your system and tweak it to your particular needs.
2. Also this might be one of the scenarios when you just want to put more use of your raspberry pi besides being just an audio player and run on your pi other self-hosted apps and services alongside as for example an add blocker, nextcould, plex media server or whatever other self-hosted apps or services you would like.
3. Another reason why you might start thinking to multipurpose your raspberry pi is that the actual streaming, playing of your music takes just so little resources from the raspberry pi, so basically 95 percent of the cpu power, ram and other is not used.
When it comes to this particular tutorial from this series dedicated to UPnP, this is the case when you just don’t need any web UI and you don’t mind using your phone, computer or other devices as a remote or source of your music. Most commercial audio network streamers work this way anyway just as UPnP renderers. So, you use an app from the manufacturer to control you music or any UPnP app to play your music locally stored or from online streaming services compatible.
How UPnP works
Let me explain how exactly this solution will work and overall how UPNP works.
Well, if you will follow this tutorial you will be able to stream music to Raspberry Pi from your phone, tablet or a computer, you will be able to stream locally stored music files and also use your favorite online music services which are supported by your UPnP client app, which could be for example BubbleUpnp app on your phone which supports Tidal and Qobuz.
So now let’s talk about UPnP and the terminology which is for some confusing at first.
How it works is that we need first to have a UPnP server as a source of your music you want to play, that can be simply sorted with an installation of bubble UPnP app on your phone which works immediately with any need of extra setup as a server and a UPnP client, also as a server can be used any app on your computer which supports UPnP protocol, that can be even a windows media player or for example Foobar2000 with an UPnP extension installed or Audirvana Studio and other players with connected library to your locally stored music and obviously dedicated UPnP servers.
Another terms usually used with UPnP beside a UPnP server are: UPnP client or the same controller and as we already mentioned a UPnP renderer.
Now we already know UPNP server is simply a source of your music, UPnP client is an app which usually serves also as a controller it connects to your server to source the files which needs to be send to your renderer and serves then also as a controller, a remote so you can control your playback, change the tracks, volume, create playlists and other. SO the UPnP client sources the music data, collects them and sends them to a renderer where it’s processed ideally without any further decoding if it’s sent in a format it’s compatible and then the renderer plays your music an linux based system through “mpd” which states for music player daemon to your audio output.
Ok, let’s start installing it
There are multiple options to choose from when it comes to UPnP renderers but today I will show you how to install Gmedia streamer as your UPnP renderer which besides “upmpdcli” renderer is one of the most used even with other complex audio OS solutions.
Base OS installation
I will skip in this article the actual base OS installation as you can watch it in video version of this tutorial at the end of this post but I always suggest as a safe solution to go especially for beginners for Raspbian OS, you can go for other Debian based linux systems as Ubuntu or Dietpi and this tutorial will also work just fine.
Especially if you have an additional audio hat attached on your raspberry pi, Rasbian (HifiBerryOS) is recommended as has the best hardware support and all known drivers are already included.
As we want to reserve as much as possible of our compute resources and the main point of going this way is not to install anything what we don’t need, choose the lite version of your system as Rasbian Lite, not the desktop version.
SSH connection
Ok so after we installed a base OS as in my case a Rasbian (HifiBerry OS) and we powered up our raspberry pi we give it a minute to properly load the system for the first time.
Now it’s the time to move to a next step which is connecting to our raspberry via SSH from our computer, that can be done in multiple ways, you can use for example Windows power shell or a free program called Putty but I will be using my favorite SSH client called MobaXterm.
For the actual connection you will need to know your Raspberry Pi ip address, if you don’t know how to find it and how to set it up to a static ip address on your router you can watch my video dedicated to basics with raspberry pi to find out. Or use programs as “ip scanner” or other.
If you are on a fresh install of Raspbian or any fresh operation system the default SSH port is usually 22 so let’s put pi’s ip address in your terminal client and connect.
We will be prompted to trust to this host, we need to confirm yes and then we will be asked for login details. On a fresh install of Raspbian the default user is ”pi” and the password is “raspberry” (case sensitive)
First thing I always recommend before doing anything else is to update our system as from the time the image of Raspbian was release there could be some updates.
to do so we type a command:
Now let it do its thing until it finishes.
Ok, so next step is installing mpd, a music player daemon which will take care about the main communication with our hardware as the UPnP renderer we will be installing works just as a front end of this main “system” player.
So to install mpd we need to type:
Now it’s time to finally install the actual gmedia streamer packages.
Now again we can check as we could at the beginning if our system recognizes our desired audio output with a command
this command will list all recognized audio outputs, if you have connected a usb dac to usb port of your raspberry pi it should appear here too besides other onboard outputs. If you have additional audio hat on the top of your pi as I do I will need to change couple of things in my boot config of raspberry pi so it’s properly recognized and drivers work correctly.
To do so I recommend you to follow instructions of the board’s manufacturer as in my case it’s hifiberrry and the hat – digital audio transport is Digi+ , so I need to edit pi’s boot config file:
remove the line
**dtparam=audio=on**
you can delete it or comment it with a hashtag which will disable it the same way and then in my case I need to add this line so my board is recognized and drivers loaded properly
**dtoverlay=hifiberry-digi**
for your particular audio hat (dac, digital transport and other check you manufacturer manual to set it up properly)
**ctrl+x** to save the document
and confirm **y for yes, enter**
Back in the command line let’s set our audio output as default device:
There are couple of ways how to do that.
– you can create or edit `/etc/asound.conf`
– or what I will do is edit the main alsa config and set the default card there, again important is not to mess up the correct number of the card so let’s check again with a command
`aplay -l`
and in my case it’s card number 2:
so here we need to scroll and find these two lines
defaults.ctl.card 0
defaults.pcm.card 0
and change the number to our device, be careful these config files are space sensitive so don’t add or remove any.
Now we can check the config file of this renderer to see what we can change:
as we can see this renderer offers to us in it’s config file just few options to change as it’s meant purely to be just a rendered not also a media server. But we can change the name how it will appear on our network , we can also set the initial software volume, then if we would not set the default audio device for our entire system we can specify it here as well.
Now we need to type last two commands so this renderer starts and also starts always after the boot up:
sudo systemctl start gmediarender.service[/custom_font]
Ok, we are done now so we can check our UPnP client app which can be Bubble UPnP app on your phone for example or an audio player supporting UPnP on your computer to check if it sees our raspberry pi and start streaming.
And as you can see in my video tutorial I tested the install with foobar2000 on my computer and Audirvana studio and also with Bubble UPnP on my phone.
All worked perfectly fine.
I have been testing this streamer for a while on everyday basis and even that in the past this renderer was known as not much stable I can confirm it’s not the case anymore, in months of everyday testing and use it never failed me and didn’t even need to be restarted one single time.
I hope you will find this series helpful, I am already working on a future content so stay tuned and don’t forget to subscribe to my YouTube channel so you don’t miss any future video tutorials in this series called “GO SLIM- the Only Audio Streaming System You Need”
Video version of this tutorial below:
piCorePlayer with Logitech Media Server - step by step installation and REVIEW
Moode Audio Player - Step by Step Installation and REVIEW
Rega Elicit-R (all about Elicit-R here)
Marantz SA8005 SACD player
AudioLab M-DAC+ (all about M-DAC+ here)
(Atlas Hyper Integra interconnects, Merlin Tarantula MK6 power cables, QED Genesis Silver Spiral)
Speakers:
KEF R500